

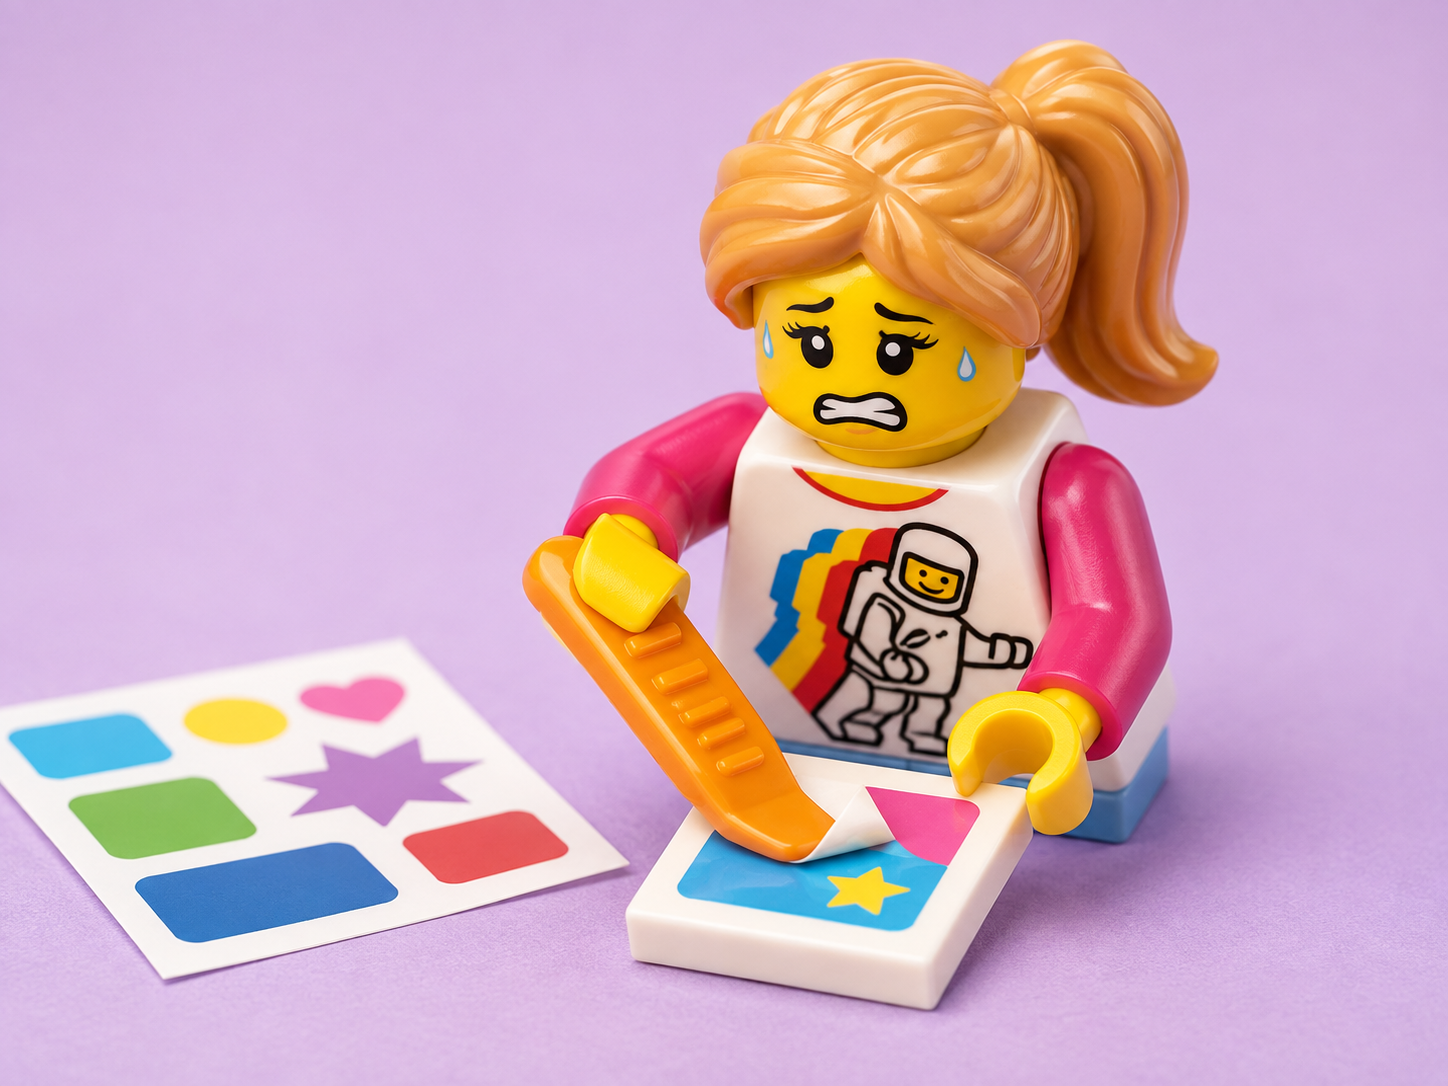
Illustration: the exact face most of us make when we turn to the sticker page.
The short version
LEGO’s own help centre recommends warm water mixed with mild detergent to make stickers easier to position, along with a brick separator to help control placement (and a rinse afterwards). Beyond that, the enthusiast community has spent years refining a “tack one corner first” method that lets you check and reposition a sticker before committing. There is also a persistent rumour about using Windex, which we have not been able to verify and are labelling clearly as unconfirmed. Best of all, none of this requires buying a dedicated sticker application kit.
Why this is even a problem
Sticker sheets might be the least relaxing part of an otherwise very relaxing hobby. You can be forty minutes into a beautifully meditative build and then turn the page to find six nearly identical rectangular decals for a spaceship control panel. Suddenly you are holding your breath like you are defusing something.
LEGO uses a mix of printed elements and stickers across its range, and the balance between the two is a deliberate design decision made set by set, rather than a random rule applied across every product.
According to comments reported by Brick Fanatics, Sven Franic, lead designer on the 10300 Back to the Future Time Machine, says LEGO tends to prioritise printed parts for smaller elements, pieces that could easily be placed upside down by mistake, or round elements where applying a sticker accurately would be difficult. He has also explained that stickers can sometimes achieve a better result than printing, because the manufacturing process places limits on how precisely some designs can be printed onto elements.
That is a more nuanced explanation than the familiar “LEGO is just being cheap” argument that tends to appear whenever a new sticker sheet is revealed. Whether it feels equally convincing when you open a set and discover a sticker sheet roughly the size of Tasmania is, frankly, another debate entirely. For now, we still have to put the things on.
What LEGO itself recommends
This part is genuinely useful and does not get repeated nearly often enough.
Fact
LEGO’s official guidance recommends lightly applying a mix of warm water and mild detergent to the surface of the element before placing the sticker, then rinsing the piece off afterwards. The small amount of liquid gives you more time to adjust the sticker before the adhesive fully grips the plastic. LEGO also suggests using the flat edge of a brick separator, the little orange or grey tool included in many larger sets, to help hold and position the sticker and then smooth out any bubbles once it is in place.
That is it. No special applicator, no $30 sticker-placement kit, no surgical equipment. Just water, detergent and the brick separator already sitting next to your instruction booklet.
The official method is basically dish soap and a bit of patience. Nobody tells you that until you have already ruined three stickers the hard way.
The corner-tack method (what most seasoned builders actually do)
If you would rather keep your LEGO completely dry, there is another technique that has become close to community standard. The idea is simple: do not stick the whole sticker down at once.
Attach only the smallest possible corner first, ideally using something narrower and more precise than your fingertip. A widely shared guide from The Plastic Brick House recommends the edge of a brick separator, tweezers, a toothpick, the tip of a blade, or even the edge of the original sticker sheet itself. By attaching only a tiny portion, the rest stays free: you can check the alignment, reposition it and lift the corner again if necessary before committing the entire sticker.
BrickNerd’s illustrated guide adds another genuinely useful tip for small elements: attach the part receiving the sticker to a larger element first. That gives you something substantial to hold, keeps your fingers out of the way and removes one moving object from the equation. Anyone who has tried to apply a tiny sticker to a 1×1 tile while pinching it between two fingertips will understand immediately. For larger stickers, such as plaques or broad panel decals, BrickNerd recommends smoothing from the centre outward to push trapped air towards the edges.
Step by step, putting it all together:
- If the part is small, attach it to a larger plate or brick first so you have something solid to hold.
- Compare the sticker with the instructions and work out your alignment before letting the adhesive touch the element.
- Tack down just one corner using a brick separator edge, toothpick or tweezers rather than your finger.
- Check the alignment from directly above before committing any more of the sticker.
- If it is not straight, lift that corner and try again.
- Once you are happy, gradually press the rest of the sticker down.
- For large stickers, smooth from the centre outward to push trapped air to the edges.
- Finish by gently smoothing the sticker with the flat edge of the brick separator.
The biggest improvement comes from treating sticker placement as two separate steps: position first, commit second.
The Windex rumour (and why we’re not endorsing it)
Speculation
There is a persistent story in the LEGO community that spraying a little glass cleaner, usually specifically Windex, onto an element lets a sticker slide around after placement, much like the official detergent method. BrickNerd has written about the technique and mentioned reports of LEGO Store staff using it, but the writer was unable to personally verify those claims.
We are mentioning it because it is out there and you will inevitably come across it if you spend enough time searching for LEGO sticker advice, not because we are recommending it. Glass cleaner is formulated for cleaning glass, not for applying adhesive-backed LEGO stickers. And LEGO’s own guidance already gives you a much milder version of essentially the same trick: warm water and mild detergent. If you want the sticker to temporarily float so you can adjust its position, there is not much reason to reach past the method LEGO itself recommends.
If you’ve already stuffed one up
First, work out how bad it actually is. There is a substantial difference between slightly off-centre and installed at an angle normally associated with modern architecture.
If the sticker has only just touched the plastic and has not been firmly pressed down, you may still be able to lift it carefully and try again. Once it has properly bonded, though, repeatedly peeling and reapplying it can stretch the sticker, curl the edges or weaken the adhesive. At that point, chasing perfection can turn a slightly crooked sticker into a completely ruined one.
If the decorated element is relatively common, replacing the part may eventually be easier than trying to rescue the original. LEGO sells individual elements through its Pick a Brick service and also operates an official replacement-parts system for pieces that are missing or damaged in new sets. Replacement sticker sheets can be a little more complicated, particularly for older or discontinued sets, which is another good reason to take your time with the original.
The Australian angle
There genuinely is not much of a pricing story to tell here, which is exactly why we like this kind of advice. Everything you need is either already inside the LEGO box or probably somewhere in your house:
- a brick separator
- tweezers or a toothpick
- warm water
- mild dishwashing detergent
- a larger LEGO element to hold smaller parts while you are working
You do not need a dedicated LEGO sticker application kit. You do not need a precision decal alignment system. And you definitely do not need a $25 plastic gadget from an online marketplace promising to revolutionise the ancient art of putting one sticky rectangle onto another rectangle.
The most useful trick costs absolutely nothing: attach less of the sticker than you think you should, check the alignment, and only then press the rest down. Your future UCS plaque will thank you.
Sources: LEGO Help, Brick Fanatics, BrickNerd and The Plastic Brick House. The Brick Box Australia is an independent website and is not affiliated with, sponsored by or endorsed by the LEGO Group. LEGO® is a trademark of the LEGO Group.